
Results 1 to 6 of 23
Threaded View


-
April 5th, 2014 09:56 PM #20
 Skilled


- Join Date
- Sep 2012
- Location
- Malaga, Spain
- Posts
- 88
- Mentioned
- 0 Post(s)
- Tagged
- 28 Thread(s)


- Sex:

Hi Everyone,
Today I started painting bits and pieces.
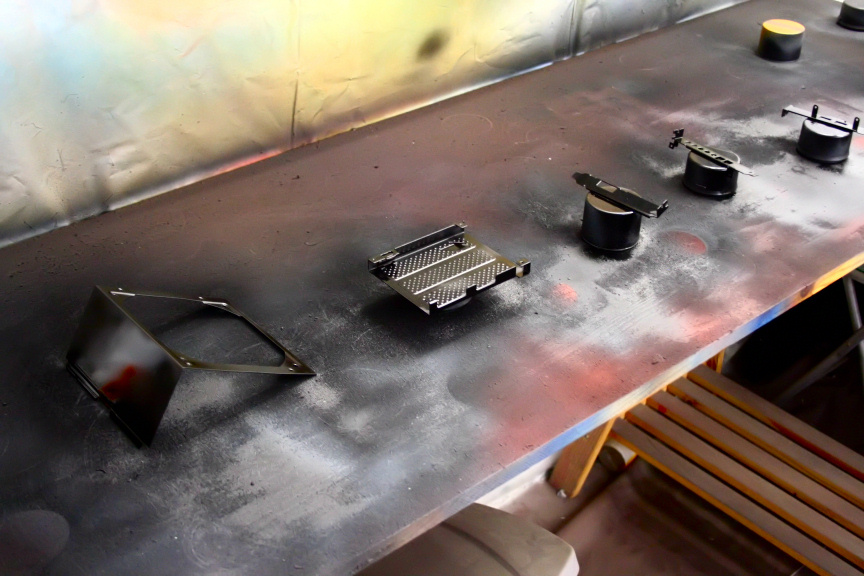
While those dried out I figured I´d get started on the front, while not pictured I had already taken care of paiting the exposed wood colour bits (except where the switches go as those would be completely covered aniway. So, the first and only thing I had ready to be installed is the controller. Being this a server, it only seemed right to use the Lamptron CM615 for remote access (through my main PC) on the same LAN.

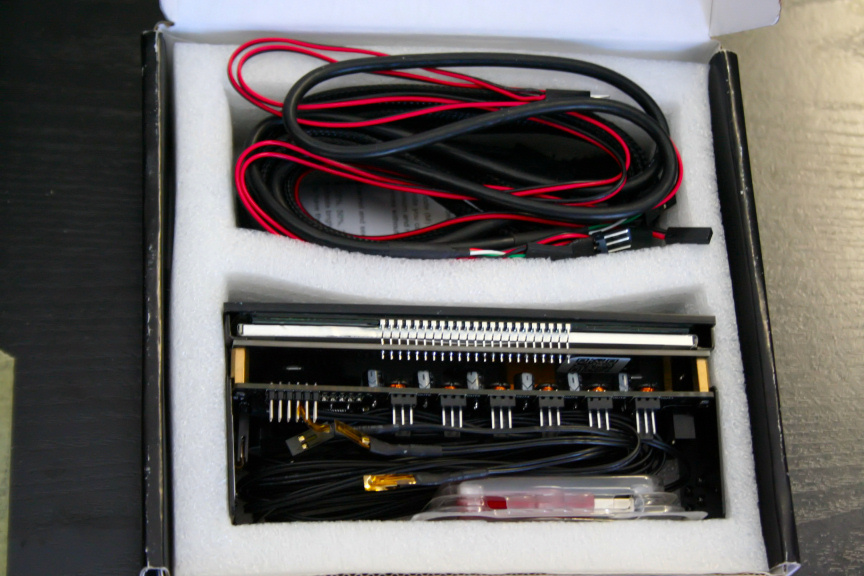
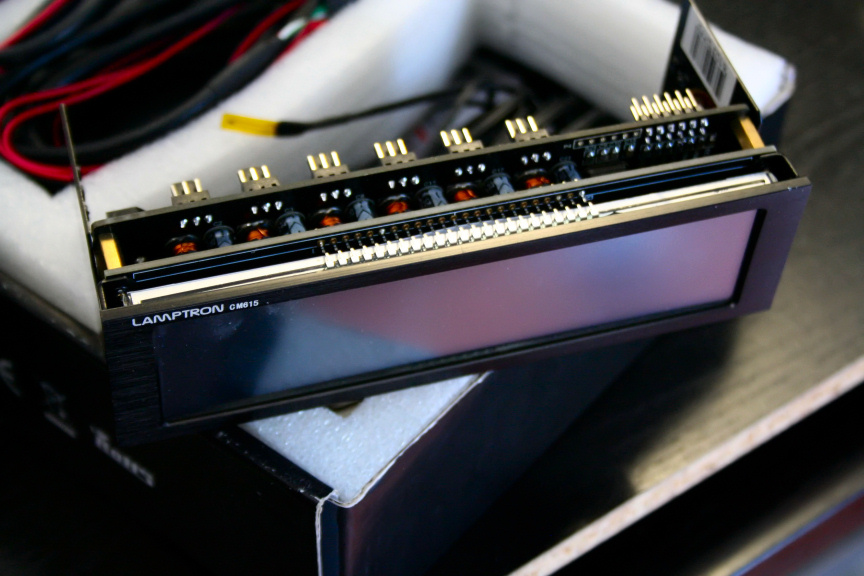
Originally I was going to make some mounts for the frontal devices but figured It would just mean more visible screws so instead I opted to use hot glue instead. So went ahead and mounted the lamptron.
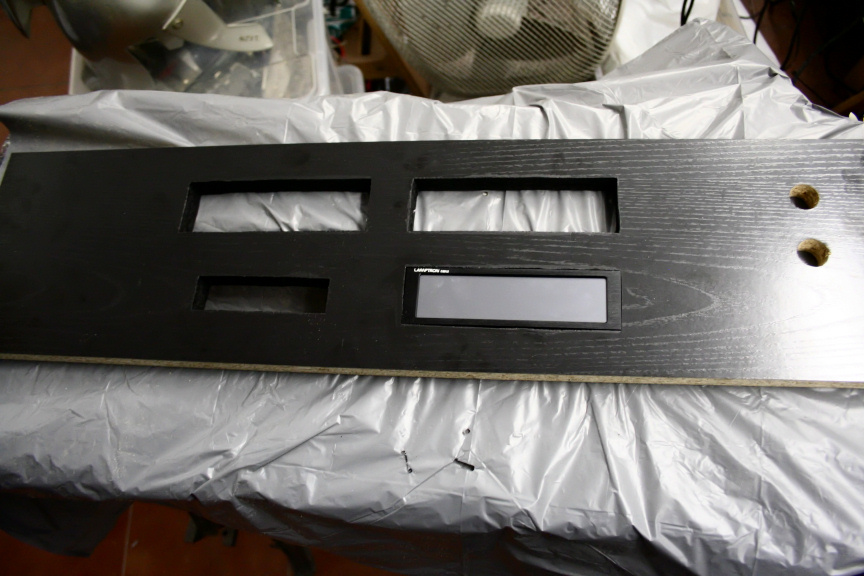
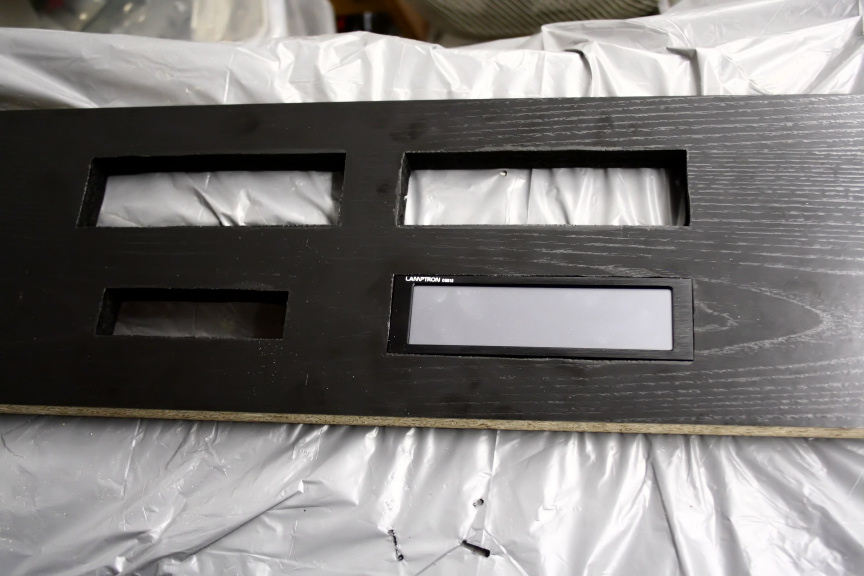
Nice fit
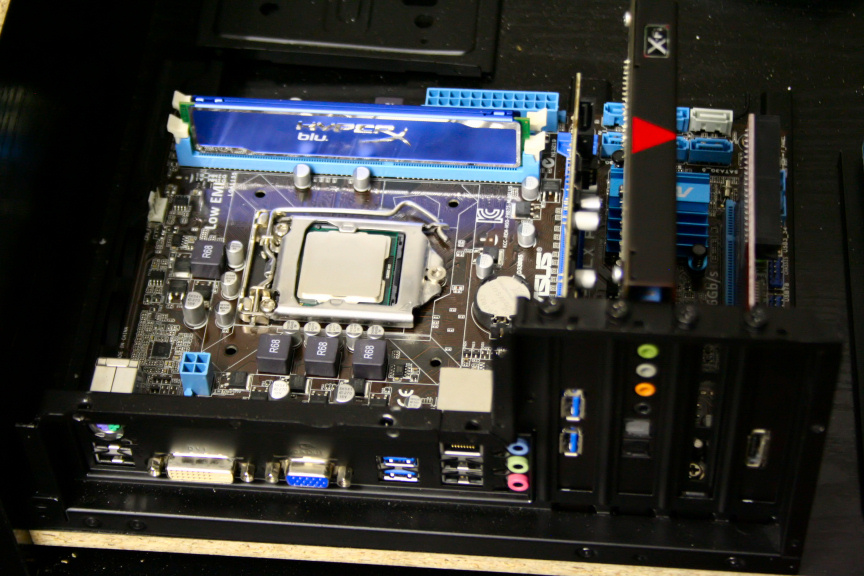
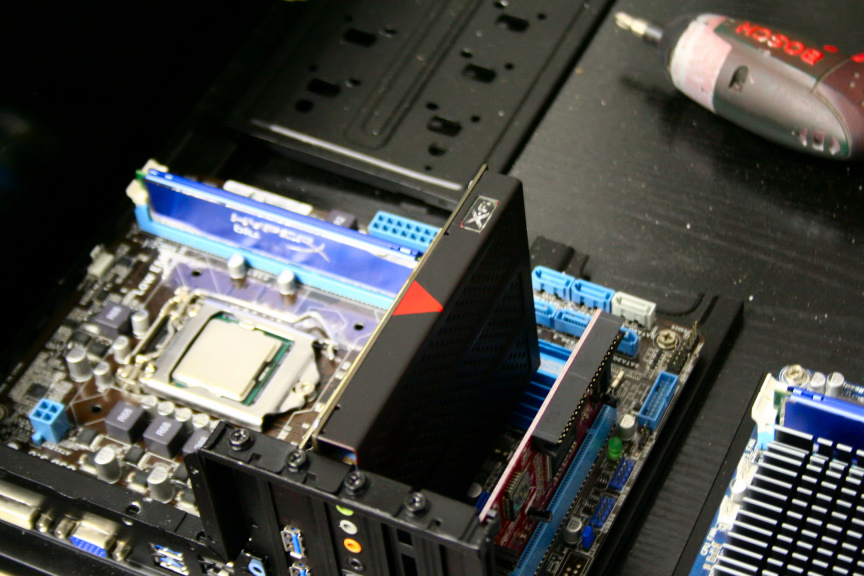
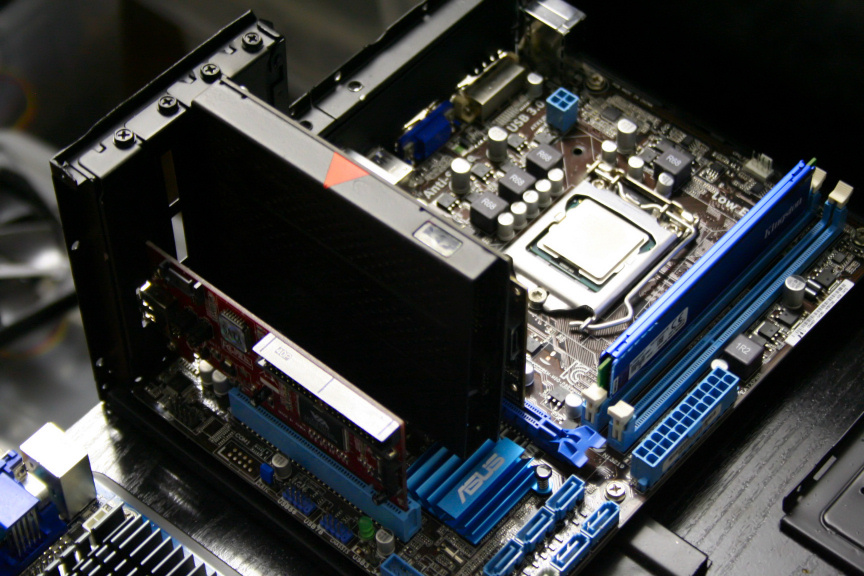
Now that the painted bits where dry I figured I´d mount them (note the little detail on the X-Fi, same as the HDDs).
 .
.
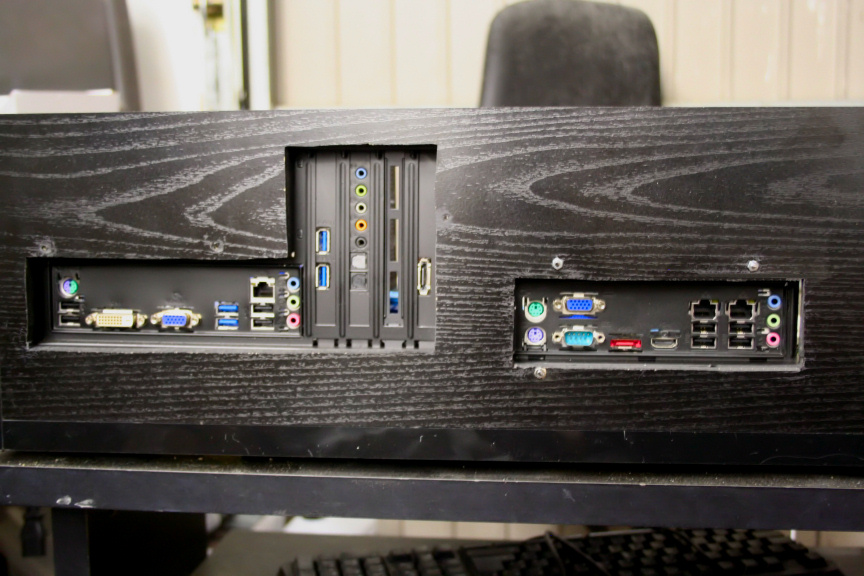
Figured I´d put the back in place to see how it looks (note that the screws of the M-ATX mount are not in place on the back, this is because I´m not finished with the back, they are on the ITX mount because if you remember it´s two pieces rather than just one.
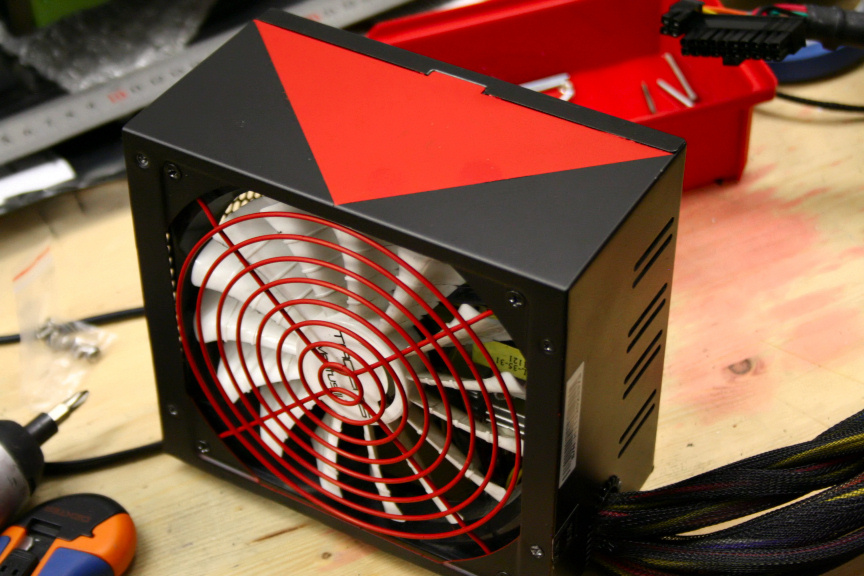
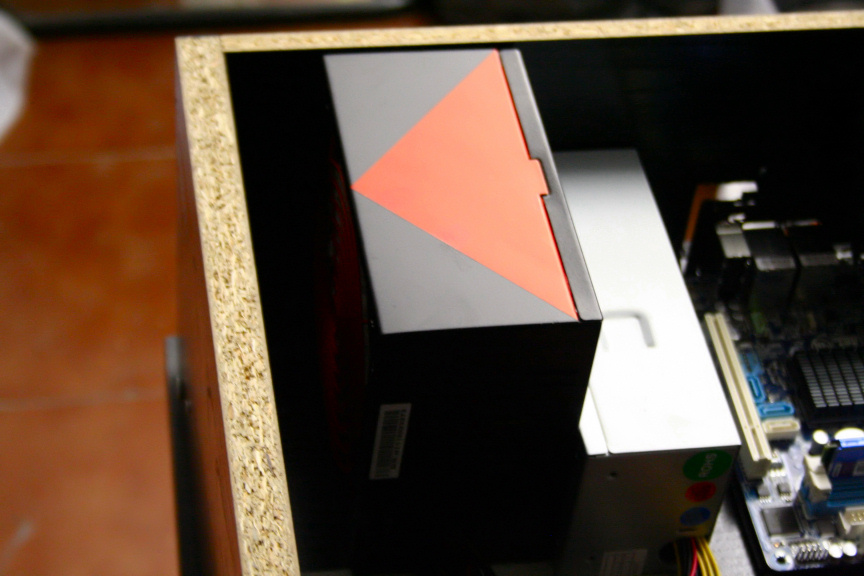
Following the theme, I did something special with the PSU (Also, photo number 100!)

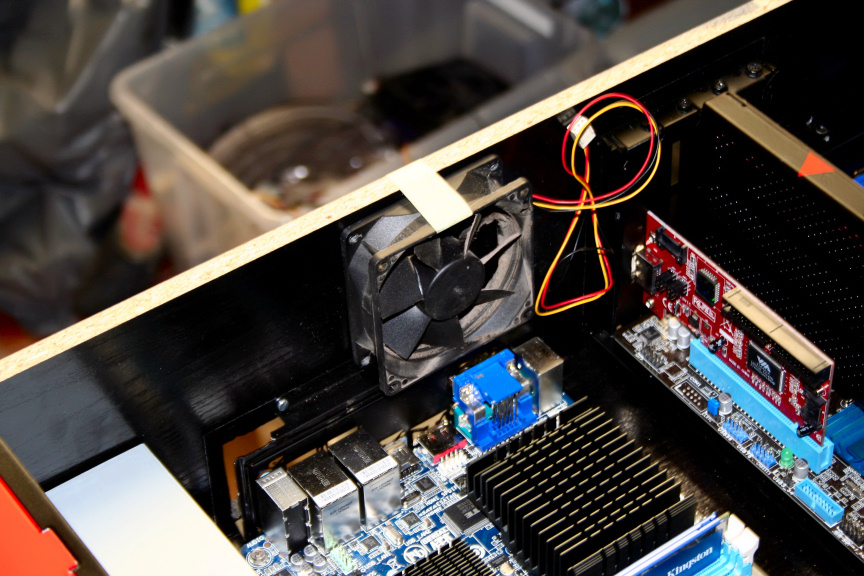
I decided this is where an 80mm intake fan will be located (may add 2 as it means it will also be ready for a 160mm rad if in the future I want to upgrade to liquid cooling).
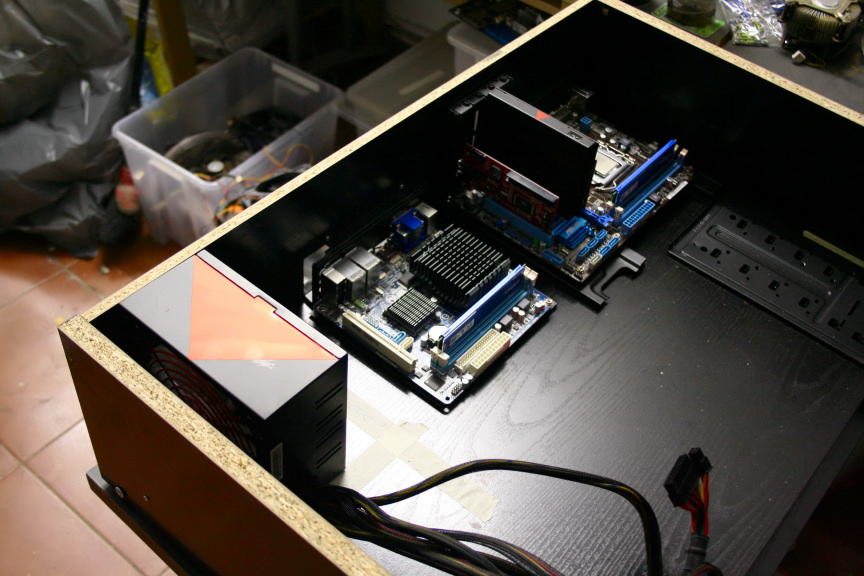
And lastly, this will be the possition of an SFX PSU that will power the itx board (obviously, needs to be painted).
 .
.
You may notice the fan of the ATX PSU is pointed towards the wall. There will be a piece of metal or wood blocking the air spreading to the rest of the case and a mesh aperture on the back panel to allow the air to flow. By doing this, none of the heat created by the PSU stays in the module.
Anyhow, that´s about it for today and as always...
...thanks for reading!

 Reply With Quote
Thread Information
Users Browsing this Thread
There are currently 1 users browsing this thread. (0 members and 1 guests)
Similar Threads
-
Crimson Skies
By mauam in forum Windows Media Player SkinsReplies: 0Last Post: August 22nd, 2010, 10:06 PM -
Customize Windows Server 2008 R2 installation with RT Server
By razorsedge in forum MiscellaneousReplies: 0Last Post: July 29th, 2010, 06:00 AM


My PC Sometimes Pics of my PC some other times !
Post Your Windows 10...